Submitting Using a Form
Submitting Using Portal
Submitting and External Authorization
Start a New Authorization
- From the PA Table tab, click on New in the top-right corner.
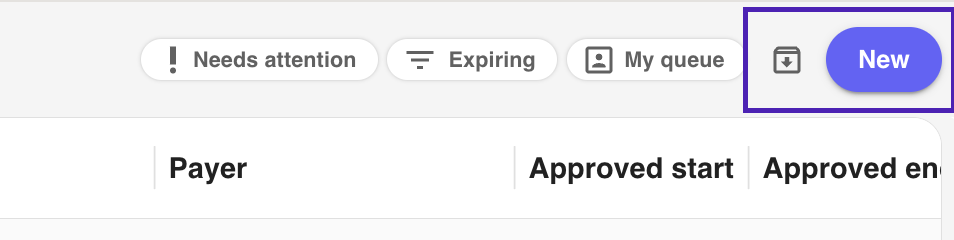
- Under Auto-populate from documents, select Automatically create.
- This feature auto-fills your prior authorization request using uploaded clinical notes, referrals, or other documentation.
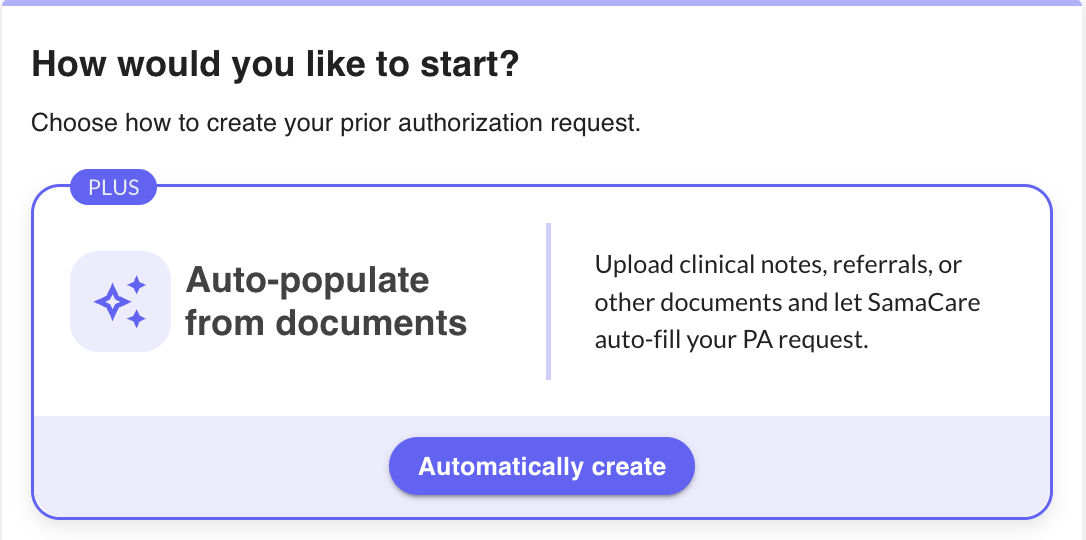
- This feature auto-fills your prior authorization request using uploaded clinical notes, referrals, or other documentation.
- Select the clinical documents you want to upload, then click Continue at the bottom of the page.
- Files must be in PDF, JPEG, or PNG format.
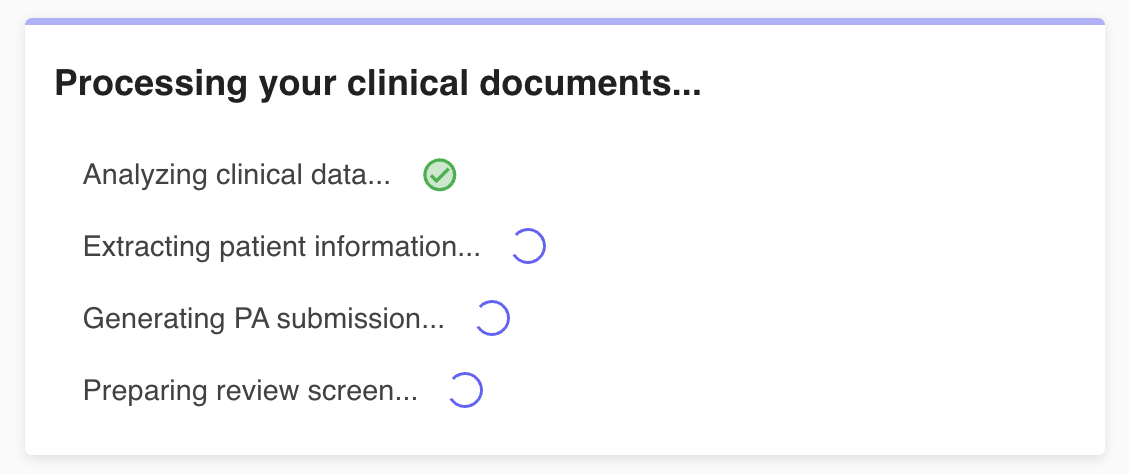
- You will be taken to a processing screen while the system extracts relevant information from the uploaded documents and converts it into structured prior authorization data. When processing is complete, click Continue to review.
- On the review page, you will see an overall confidence score for the auto-filled fields, along with a breakdown of how accurately each field matched the uploaded document. After reviewing the results, click Continue to Authorization Details.
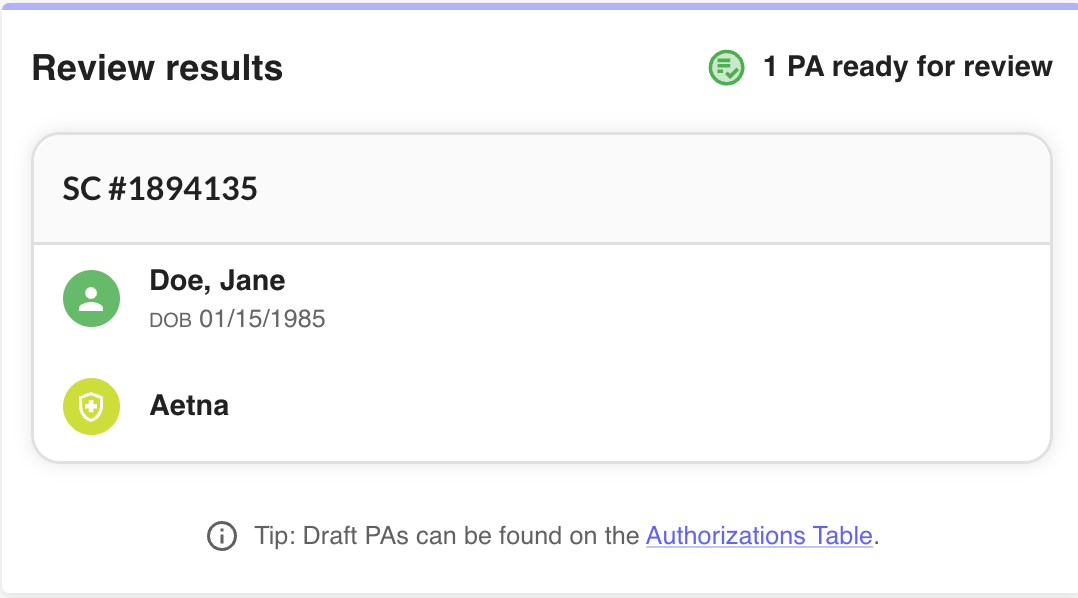
- On the Patient & Insurance page, you will see the newly created, auto-filled prior authorization. Key information, such as patient, service, and insurance details, will already be populated. Click Next to continue to the Service & Diagnosis page.
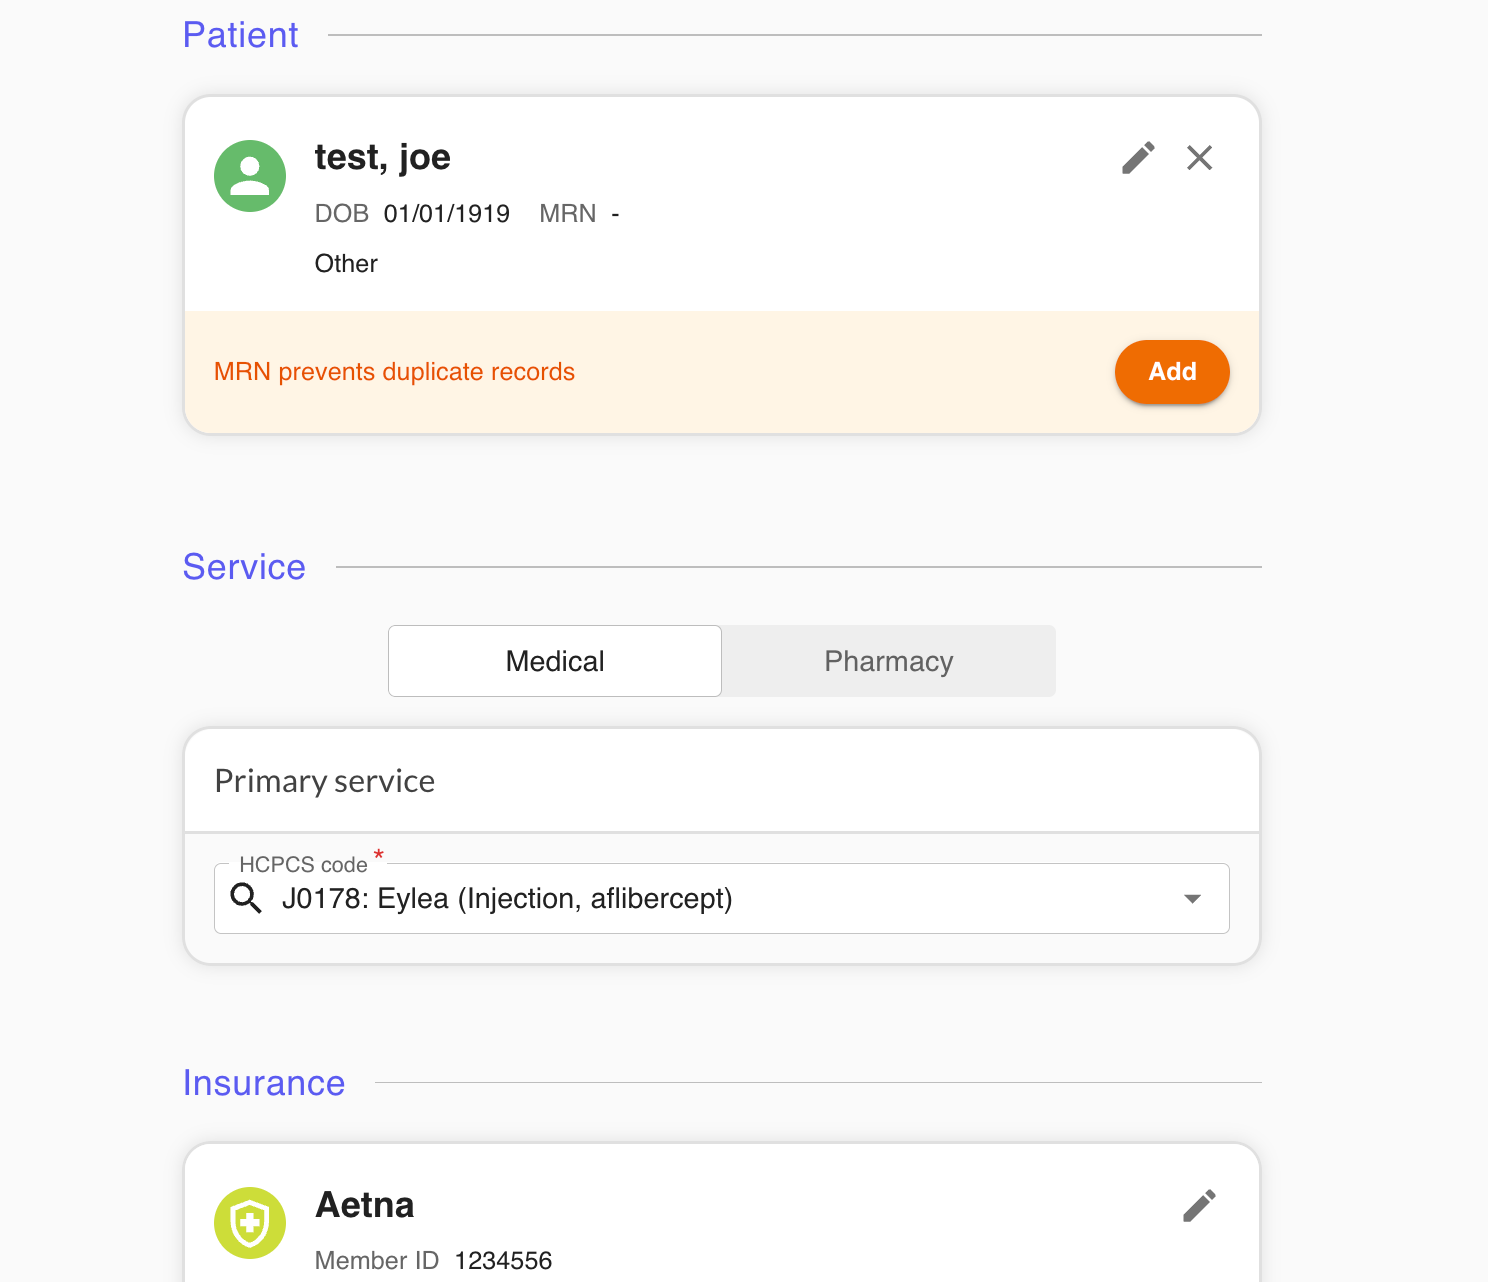
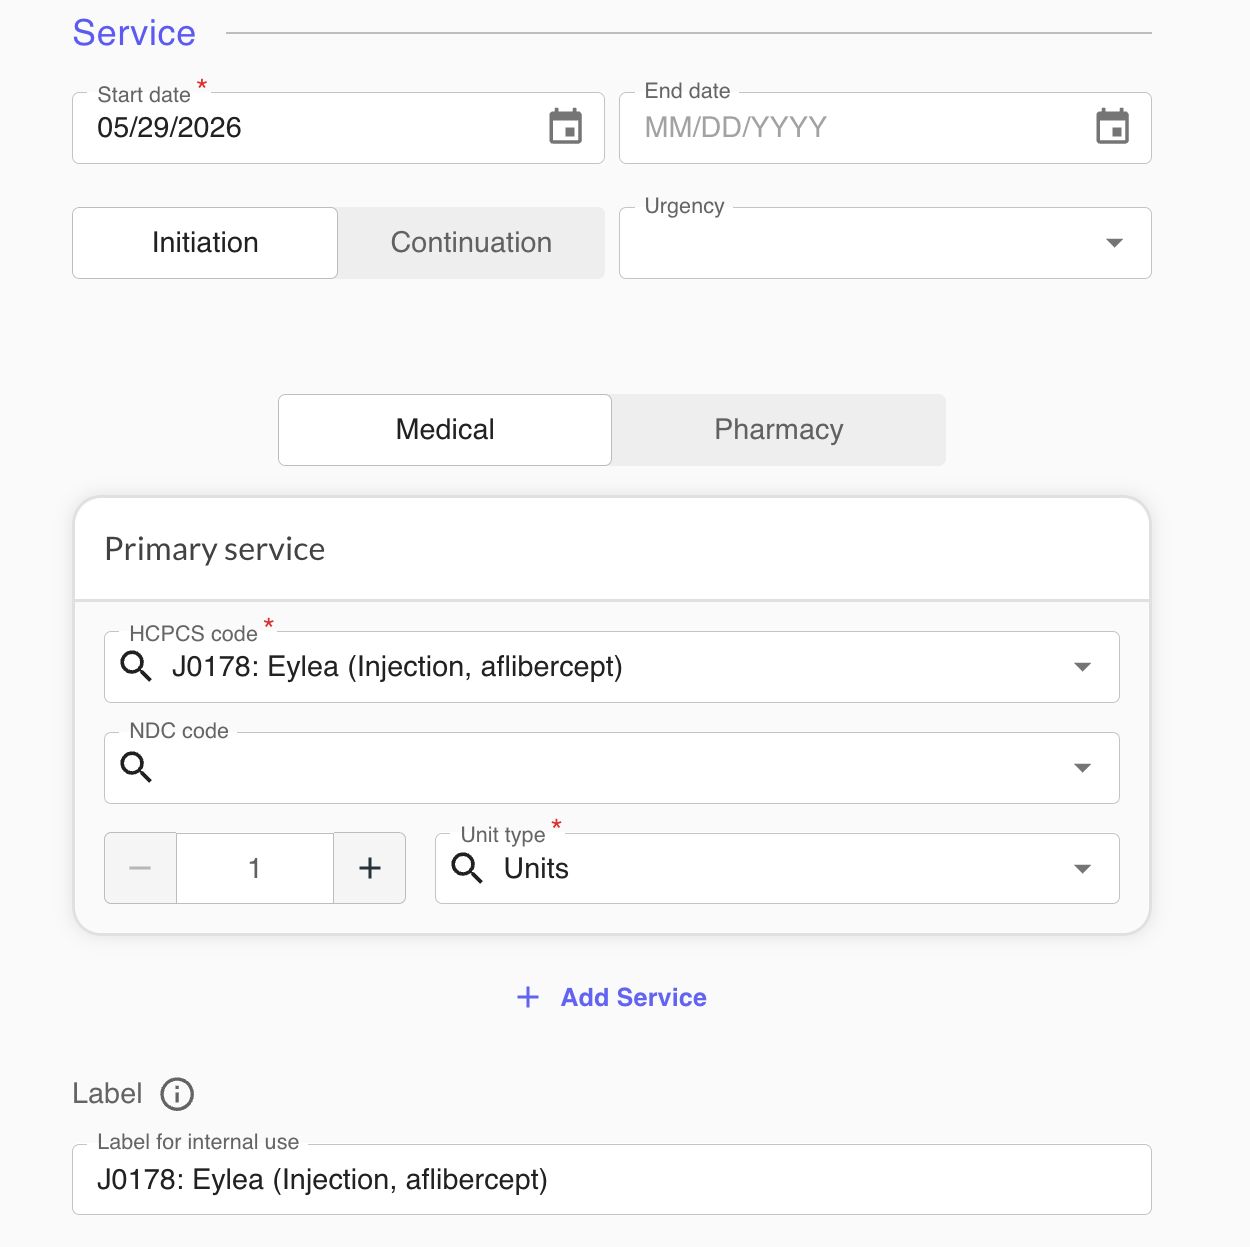
- On the Service & Diagnosis page, as much information as possible will be auto-filled based on the uploaded documentation. Click Next to continue to the Servicing Provider & Location page.
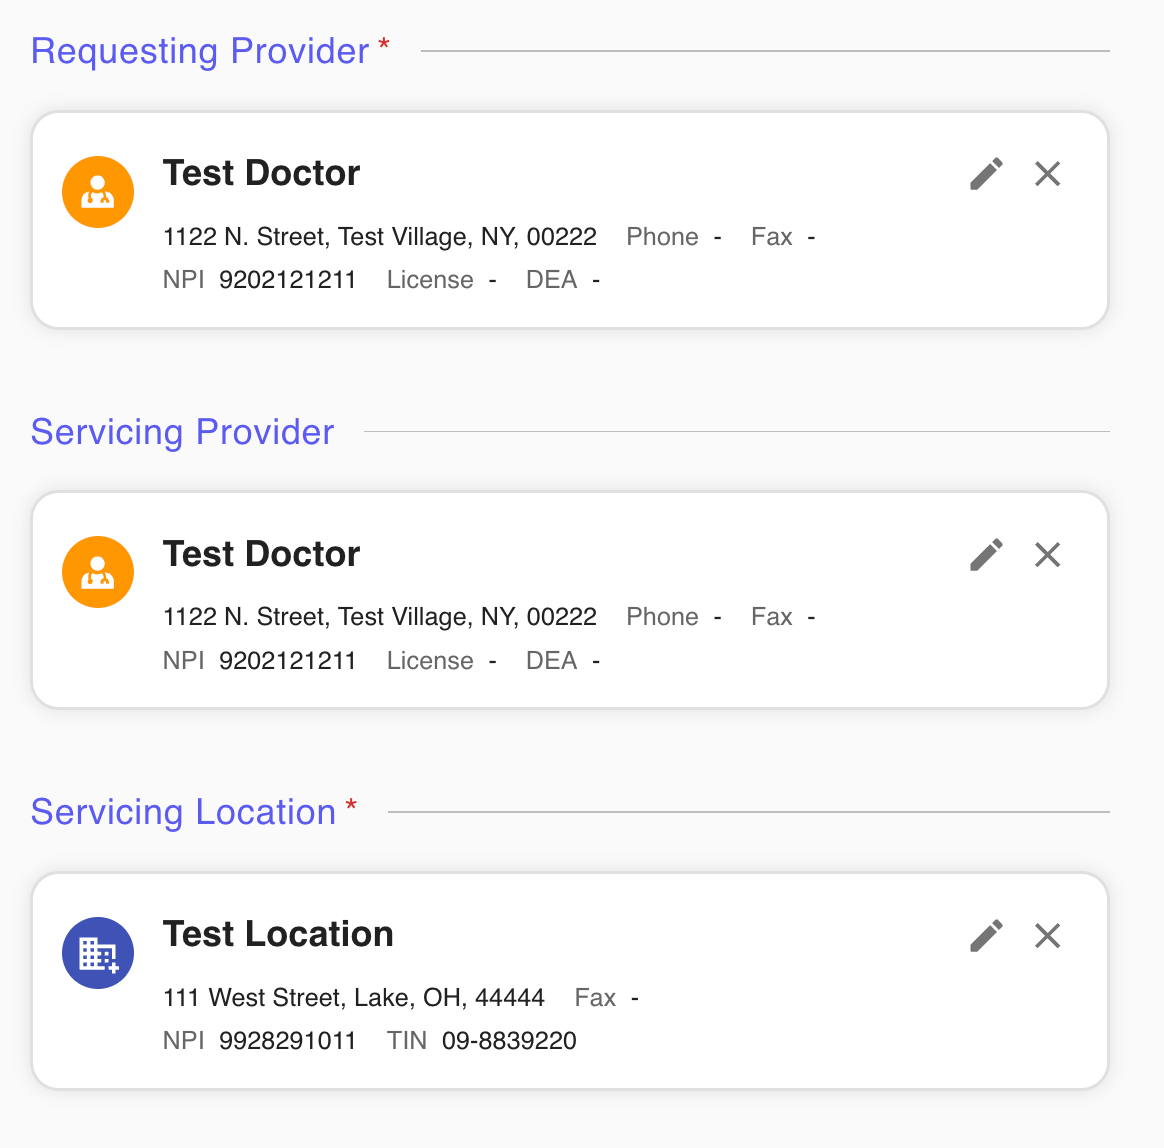
- On the Servicing Provider & Location page, the appropriate provider and location are preselected to reduce additional entry. Click Next to continue to submission selection.
Submitting using a Form
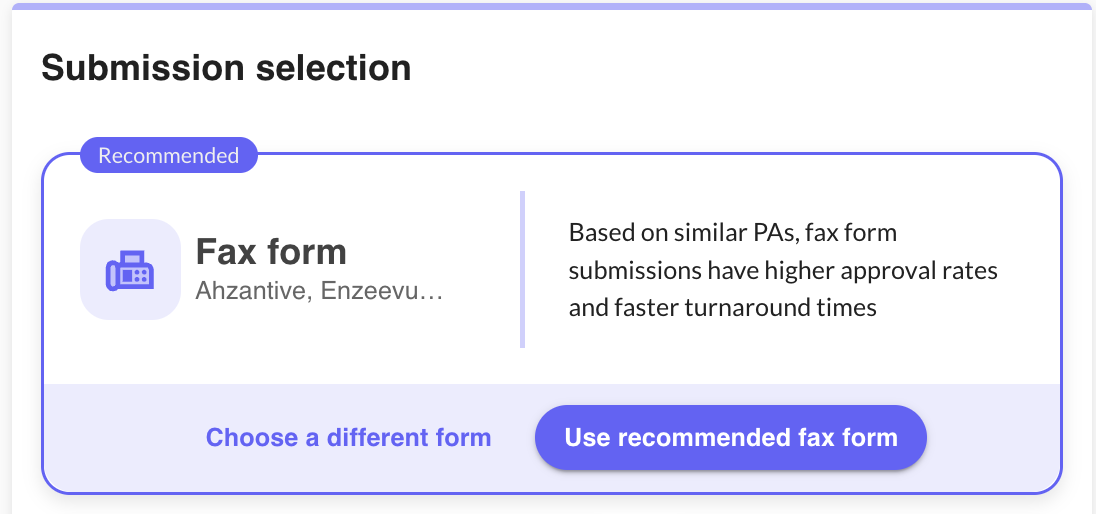
On the Submission Selection page, choose Fax Form as your submission method
- If the recommended form is not appropriate, you can select a different form.
- You will then see a preview of the form so you can confirm it is correct before moving forward. Click Use Form to continue.
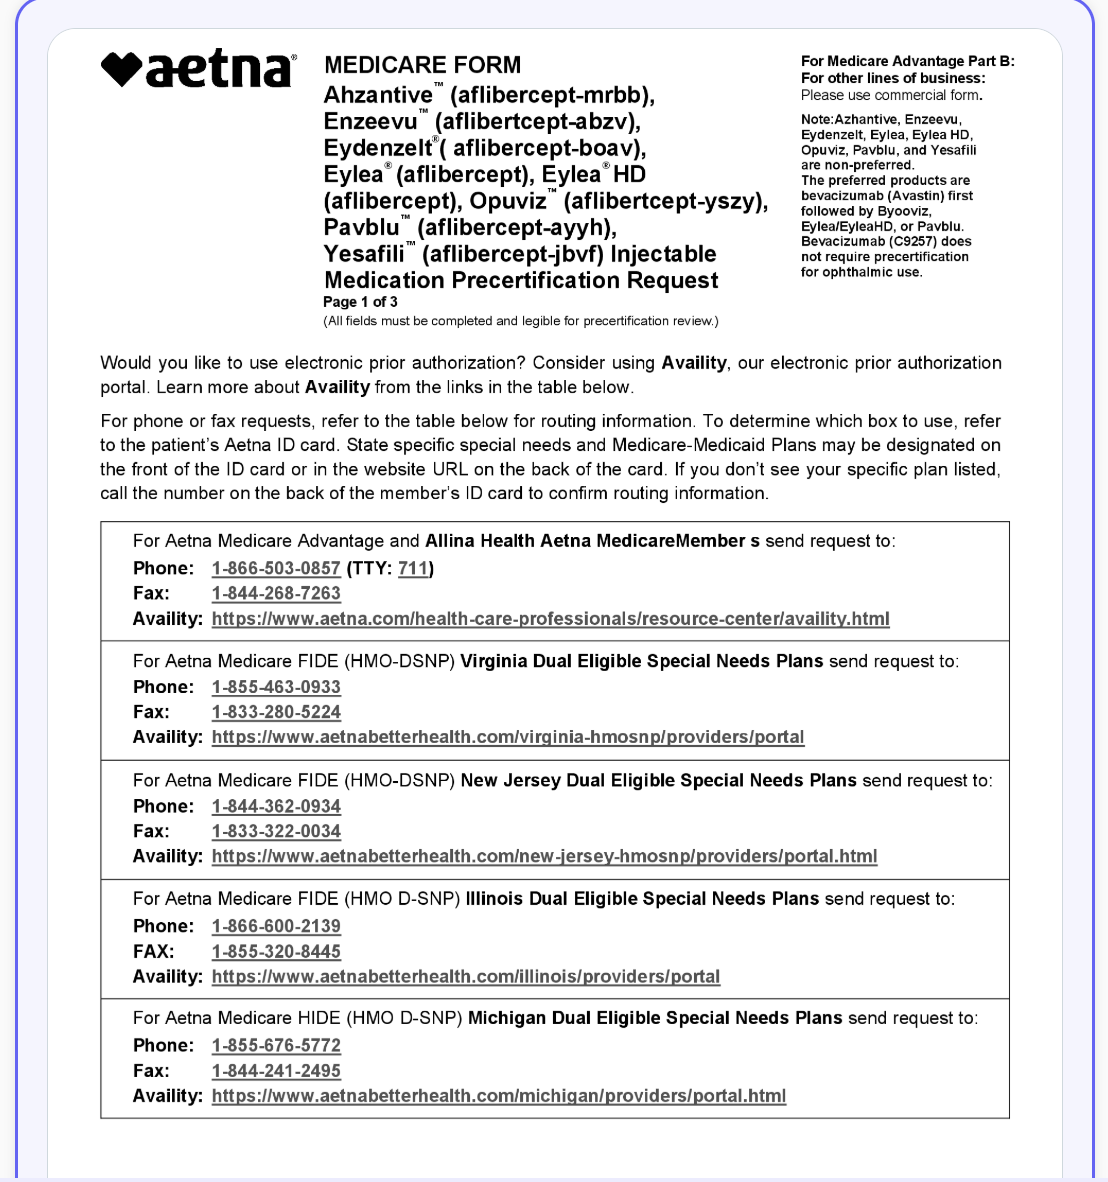
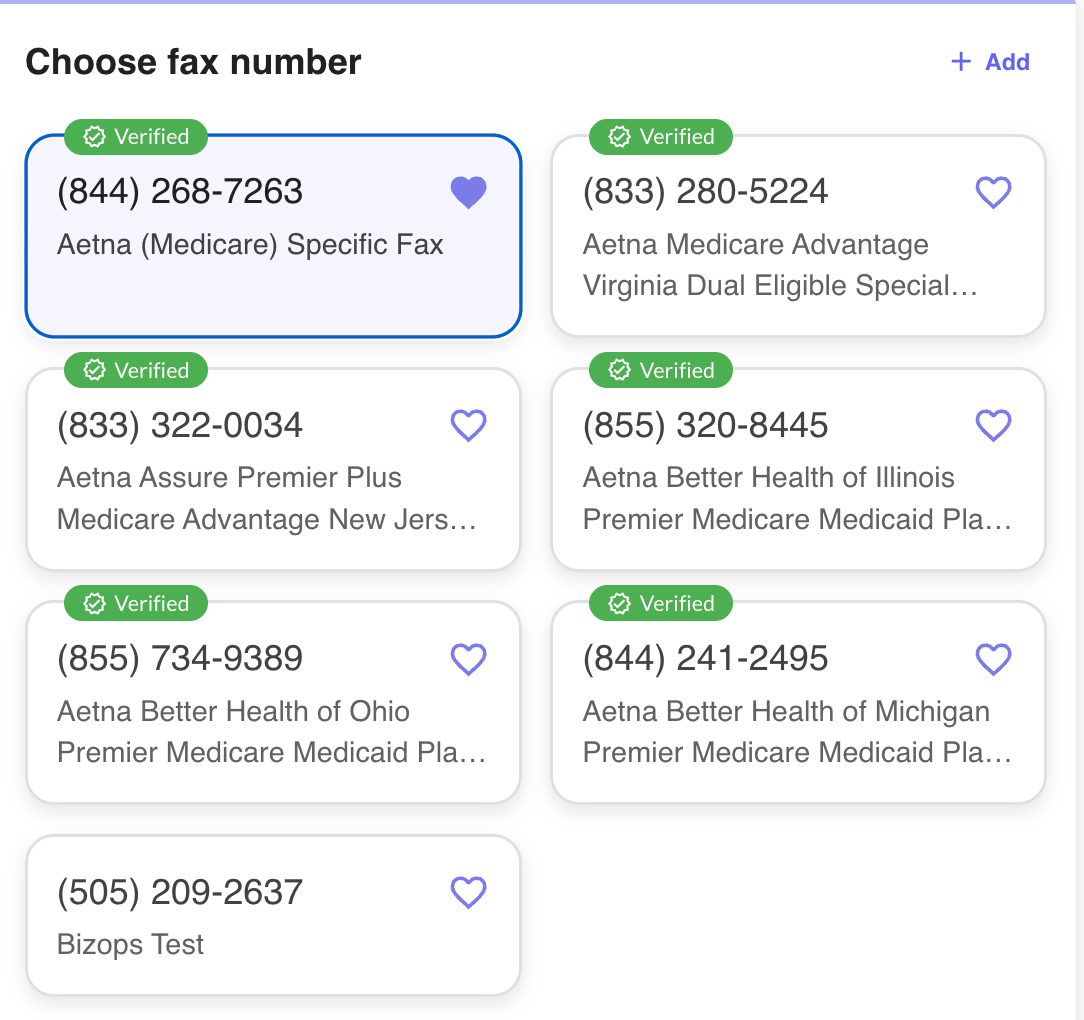
Next, choose a fax number to send the form to. A recommended and verified fax number will appear first, but you can also add an alternative number. Make your selection and click Next.
- You can now edit the form and make any necessary changes. When you are finished, click Continue to Cover Letter.
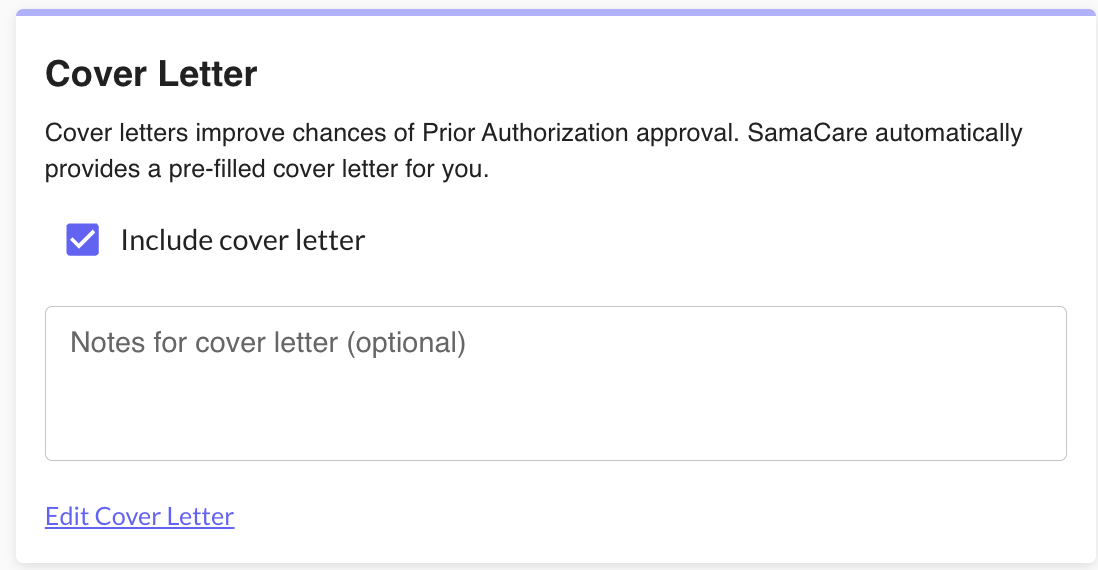
- On the cover letter page, you can include a pre-filled cover letter and add notes. You can also edit the cover letter if needed. When finished, click Next.
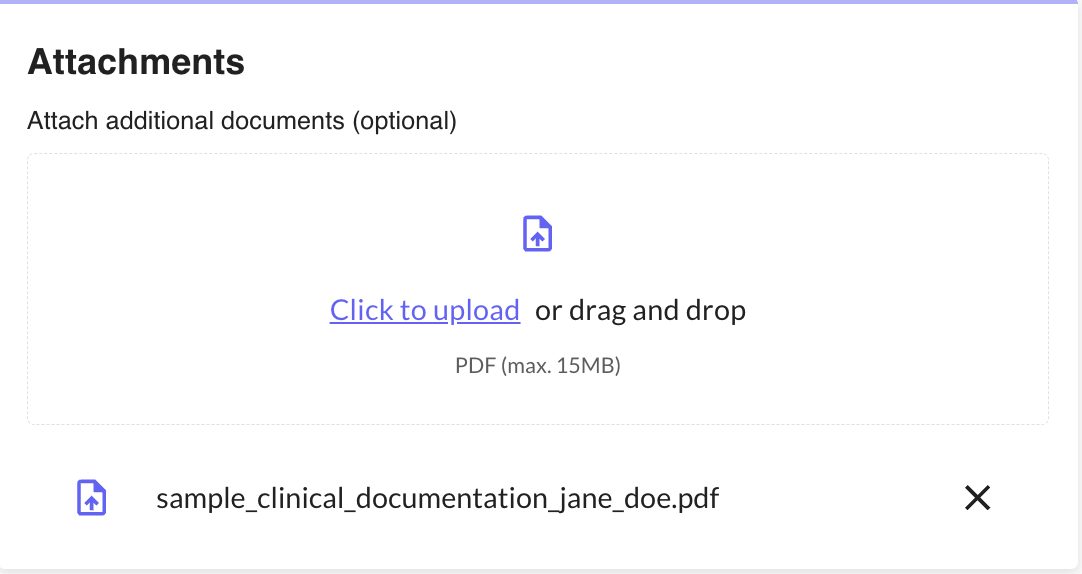
- On the Attachments page, you can attach additional documents. The document used to auto-populate the prior authorization will also appear here. When finished, click Next to continue to the Signature page.
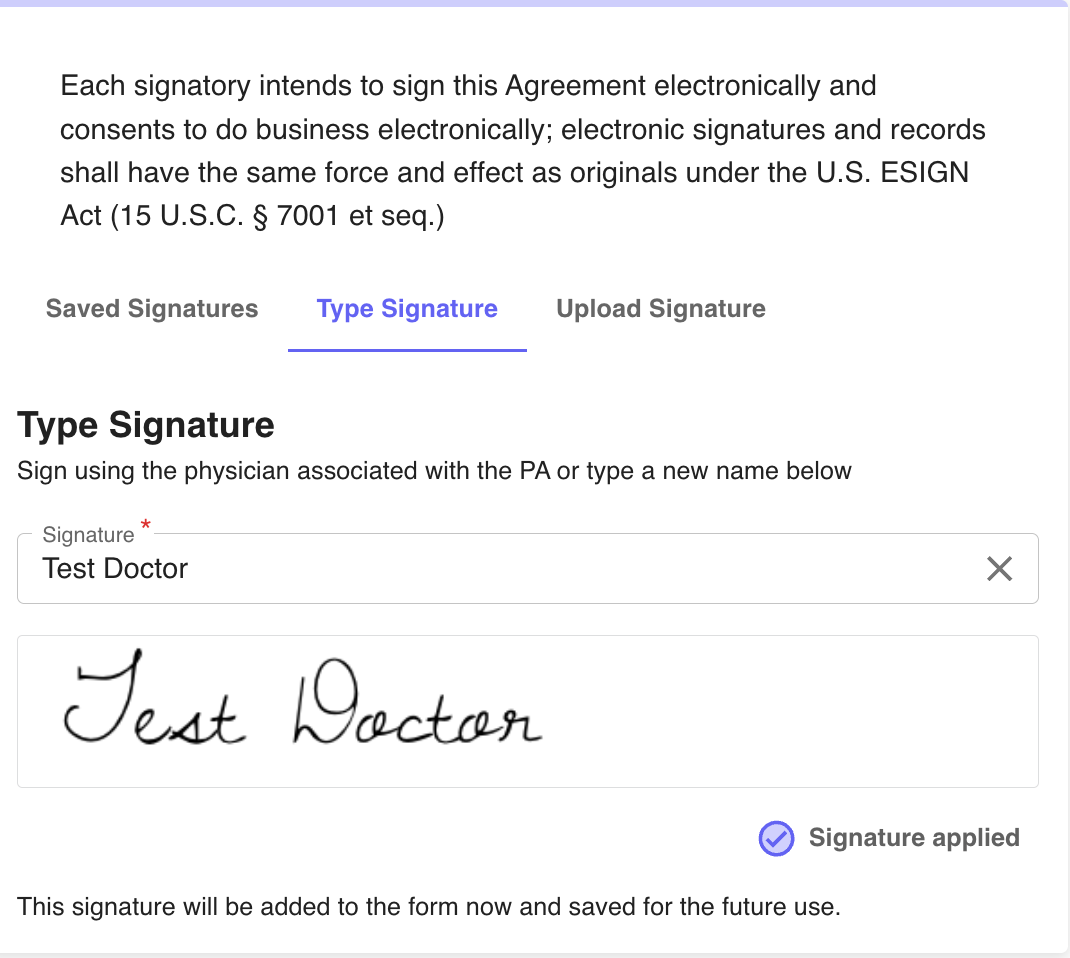
- On the Signature page, sign using the physician associated with the prior authorization, or enter a different name. Click Next to continue to the final review.
Review the Fax and Policy Before Submission
On the Fax Review page, review the cover letter, payer form, and supporting documentation attached to the authorization before submitting. Click Review Against Policy to continue.
- If any changes are needed, use the corresponding tab on the side to make edits.
- On the Policy Review page, the submitted information is checked against policy requirements.
Note: Policy Review is only available for sponsored brands.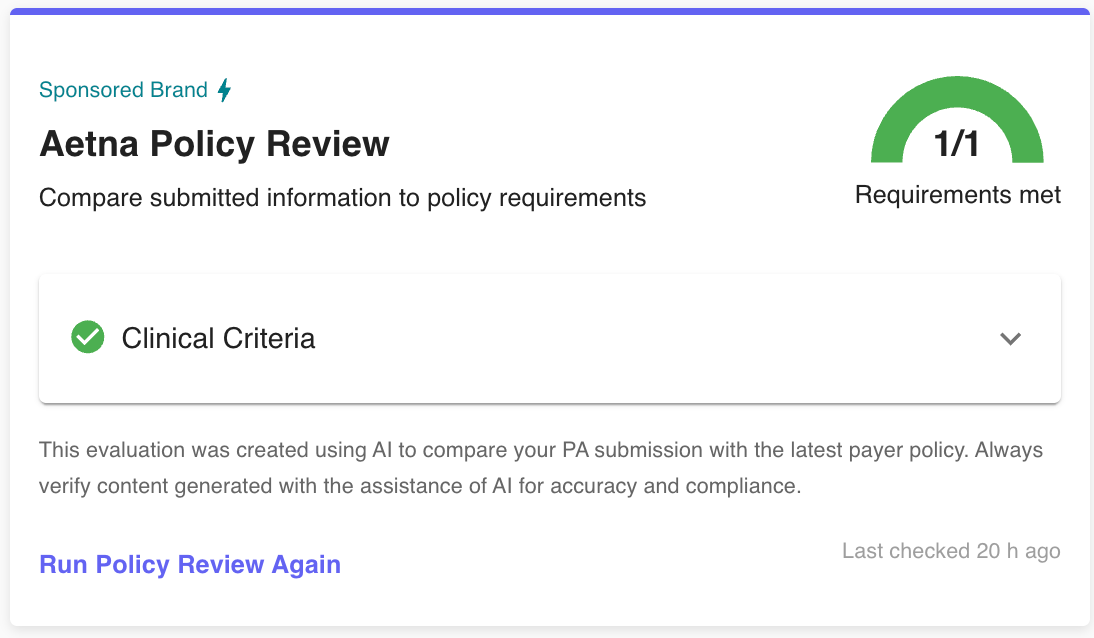
- When you are ready, click Submit Fax to complete the submission.
Submitting using a Portal
- On the Submission Selection page, choose Payer Portal as your submission method.
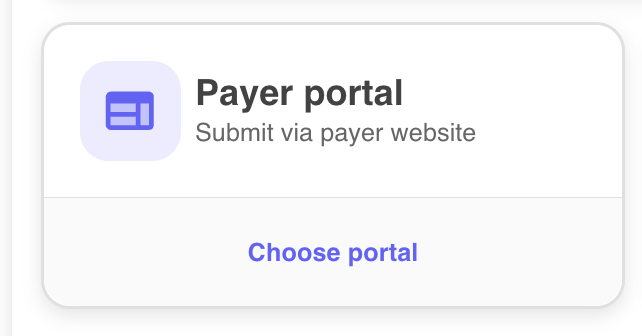
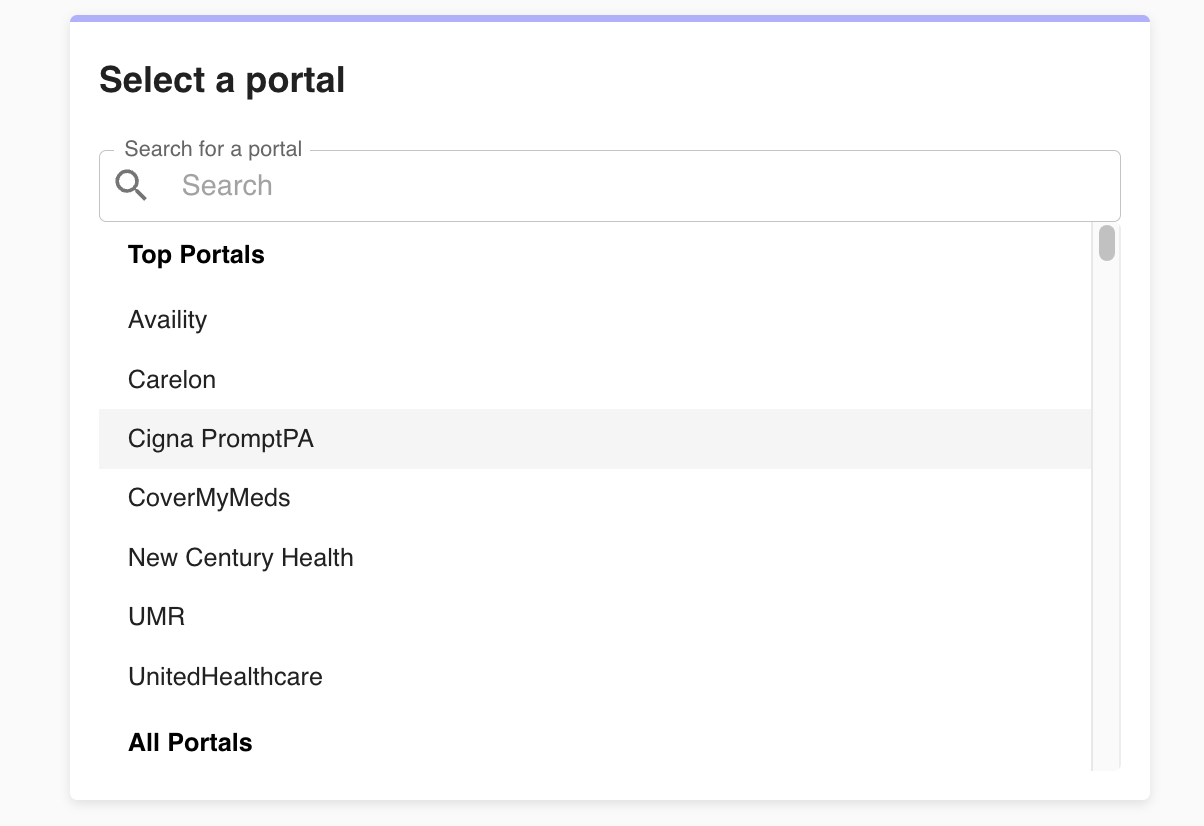
- You will first see a list of top portals, followed by a full list on the Select a Portal page. Select the portal you want to use for the authorization, then click Next.
Curious about auto-submission? See more here.
- Before you are redirected, you can review and edit the authorization information. When you are ready, click Launch Portal.
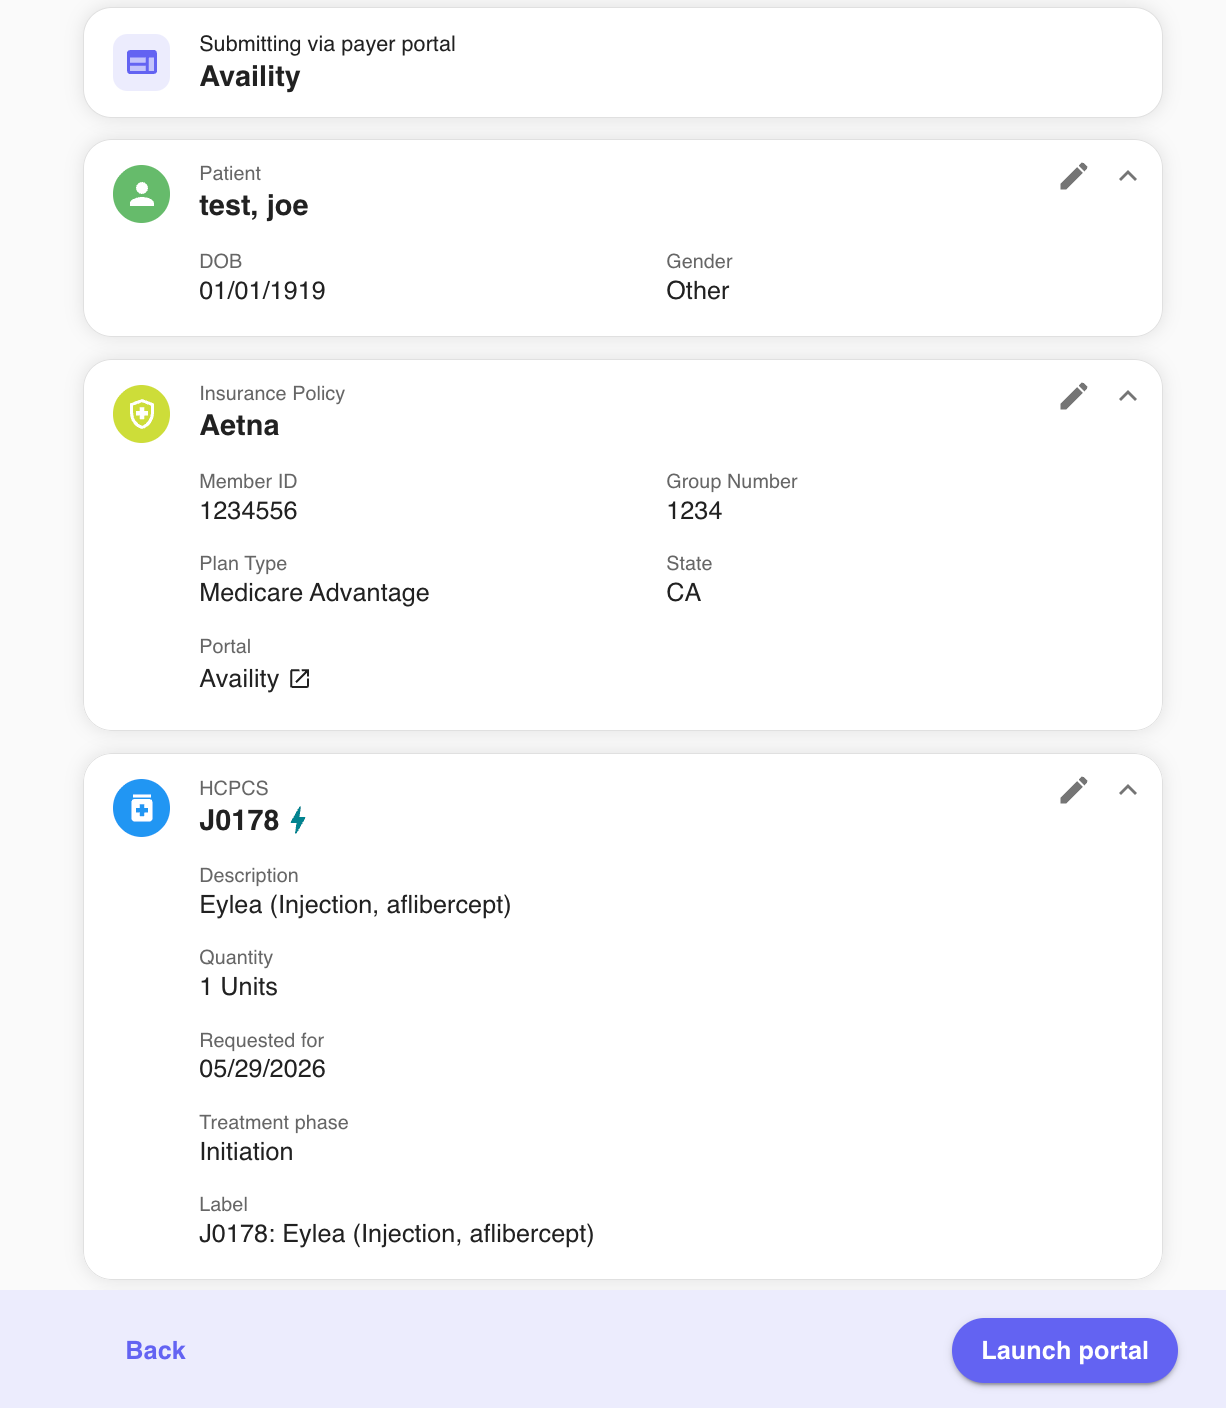
- The portal opens in a new tab, where you can log in, if needed, and continue the submission process.
Submitting an External Authorization
An external authorization allows you to keep an internal record of an authorization that may have been submitted outside of Samacare.
- On the Submission Selection page, choose Skip Submission as your submission method.
- On the Review page, you can review and edit the authorization information. When you are ready, click Finish to create the authorization record.
You're Done!
You're prior authorization has now been successfully submitted.
Was this article helpful?
That’s Great!
Thank you for your feedback
Sorry! We couldn't be helpful
Thank you for your feedback
Feedback sent
We appreciate your effort and will try to fix the article